Easily Integrate SuiteCRM and Contact Form 7
I came across a great plugin the other day while trying to integrate SuiteCRM and Contact Form 7 for a client. The normal SuiteCRM Web to Lead form is great for simple lead capture. However, if you want something a little more advanced or custom, you’ll need something different. Contact Form 7 is a great contact form builder for WordPress that’s been around for years. While there’s a bit of a learning curve with it, it does the job.
Here’s how to integrate Contact Form 7 with SuiteCRM.
Step 1: Install the Plugins.
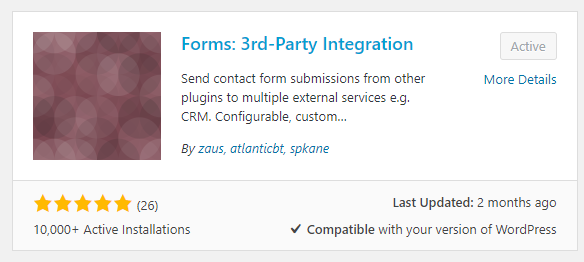
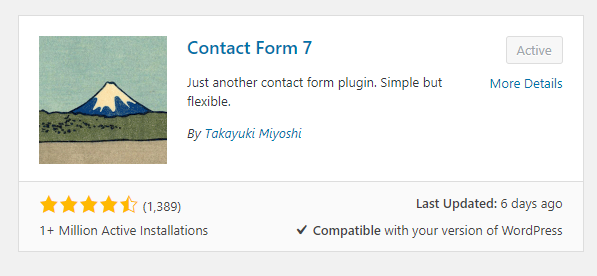
You’ll need to install Contact Form 7 and Forms: 3rd Party Integration plugins from the WordPress repository.
Step 2: Create Your Contact Form 7
Create your form in Contact Form 7 as normal. There are lots of tutorials on this, so I won’t cover it here. But just remember at a minimum to create a lead in SuiteCRM you’re going to want:
- First Name
- Last Name
- Account Name (Company Name)
- Email Address
- Description (Can be a text area for questions)
- Phone Number
Step 3: Create a Web to Lead Form on SuiteCRM Side
You don’t actually need this for anything. It will just help you get the right field names for later. You just need the HTML of the form to help you find all the right information. However, you do need to have a campaign set up in SuiteCRM for the campaign ID and to make the whole thing work.
Step 4: Configure Forms: Third Party Integration Plugin
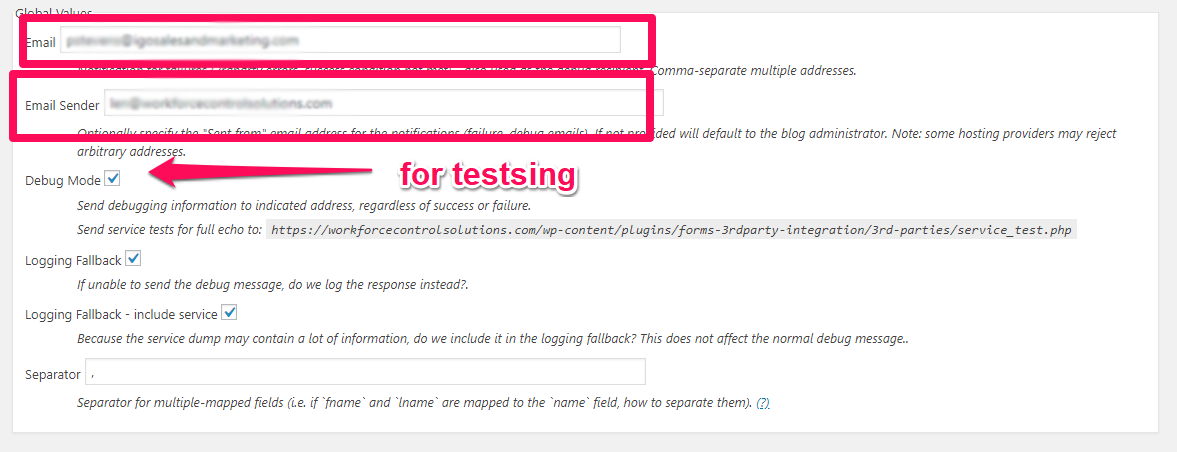
The first thing you are going to want to do is to enter the globals section. it’s helpful to enter your email address and check off the debugging. You can uncheck this at the end when everything works.
Note: You’ll find the plugin settings for Forms: 3rd Party Integreation under you “Contact” menu in WordPress for Contact Form 7.
Configure the Forms
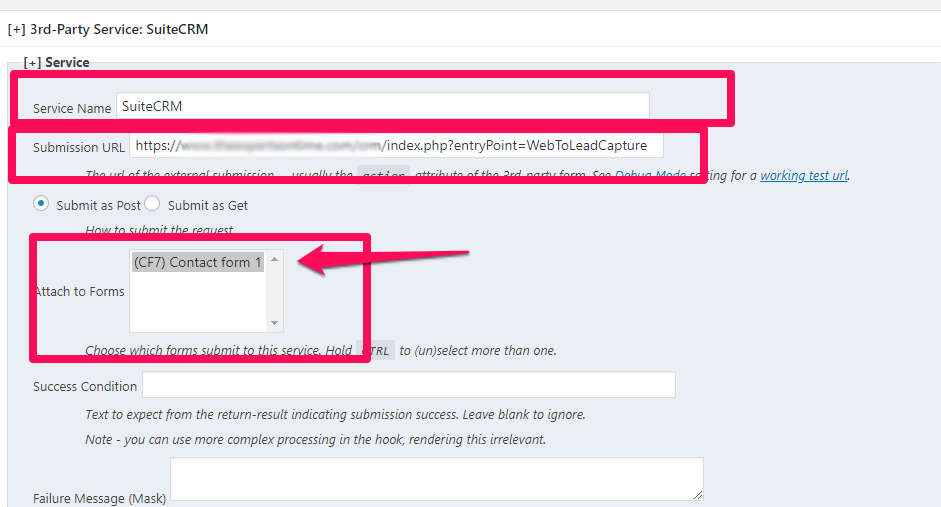
Your URL is going to be:
https://YOURCRM.COM/index.php?entryPoint=WebToLeadCapture
You can also use:
https://YOURCRM.COM/index.php?entryPoint=WebToPersonCapture
If you want to capture contacts instead of leads you can use WebToPersonCapture instead of WebToLeadCapture
The next step is to configure your field mappings:
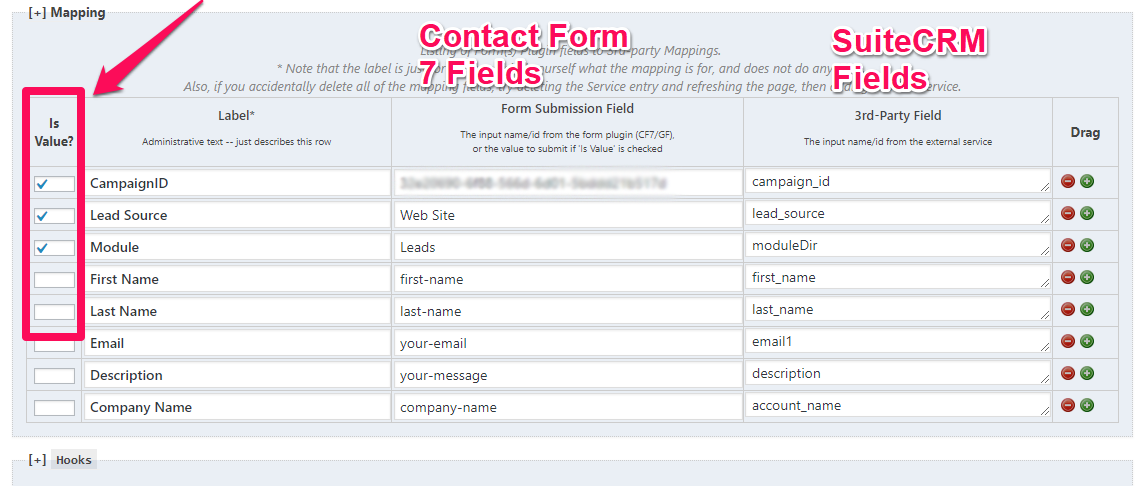
Here is a shot of the fields you need. Fields that are not on the form, buy you need to insert in SuiteCRM, make sure you check of “Is Value” for things like the CampaignID, Lead Source, Module and also assigneed_user_id (I forgot to include it in the example above.
The fields you’ll need to get from the Web Lead Form Are:
- assigned_user_id = The user id of the SuiteCRM user that is going to be assigned the lead
- campaign_id = the id of the campaign you created the lead form from. This will insert the lead into the campaign.
- ModuleDir = Leads (but can also be Contacts)
- email1 = the Contact Form 7 email field
- first_name = Contact Form 7 first name field
- last_name = Contact Form 7 last name field
- account_name = Contact Form 7 company name
You can have as many fields as you want, as long as they correspond to a field name in SuiteCRM. Just make sure you use the field names as they are named in the database, not on the front end. The case (uppercase/lowercase) is important so check it carefully.
Step 5: Test Your Form
Once all is set up, test your form and you should get a new lead. If there is a problem, you’ll get an email with debugging info. If all works good, remember to turn off debugging mode and you’ll stop getting the emails.
NOTE : This also works for Gravity Forms integration with SuiteCRM. I’ve also got another tutorial on how to do this with Gravity Forms: How to Integrate SuiteCRM and Gravity Forms
If you ever need help with SuiteCRM or WordPress. That’s what we do. Feel free to contact us for SuiteCRM consulting any time.
Need help implementing or improving SuiteCRM?
I provide SuiteCRM consulting, customization, implementation, and support services to help businesses get more value from their CRM.